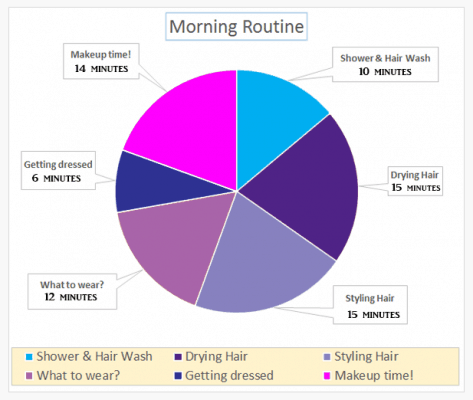
No wonder. On average, a woman’s beauty routine consumes at least 70 minutes every morning.
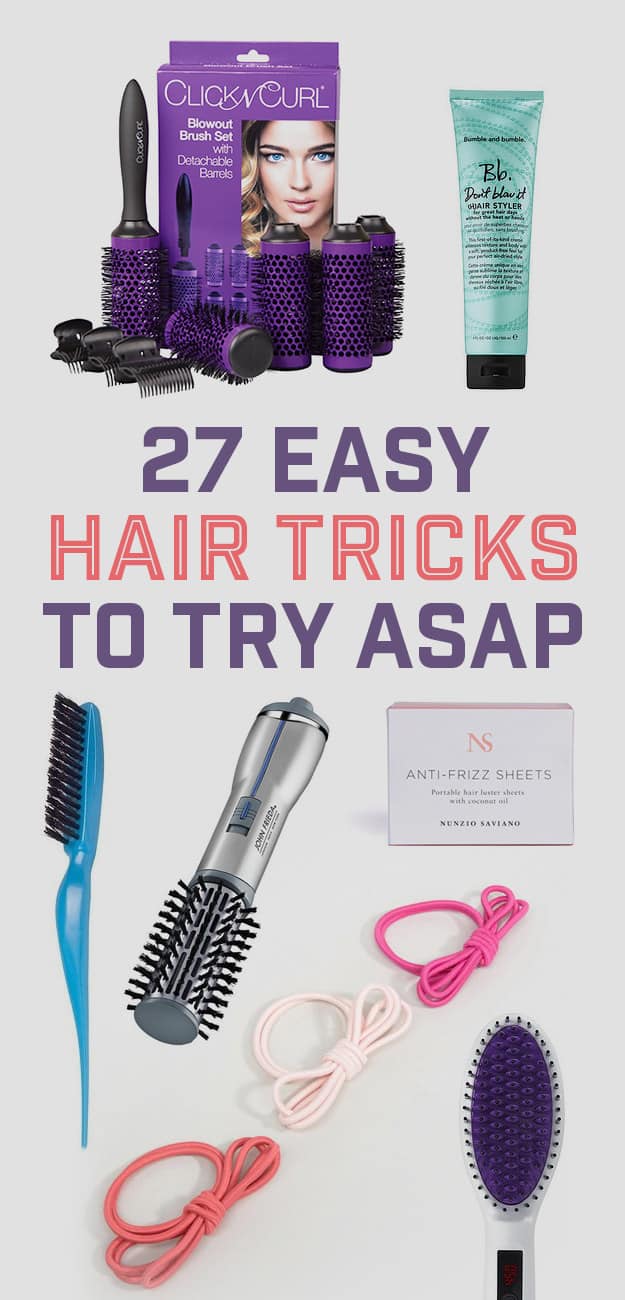
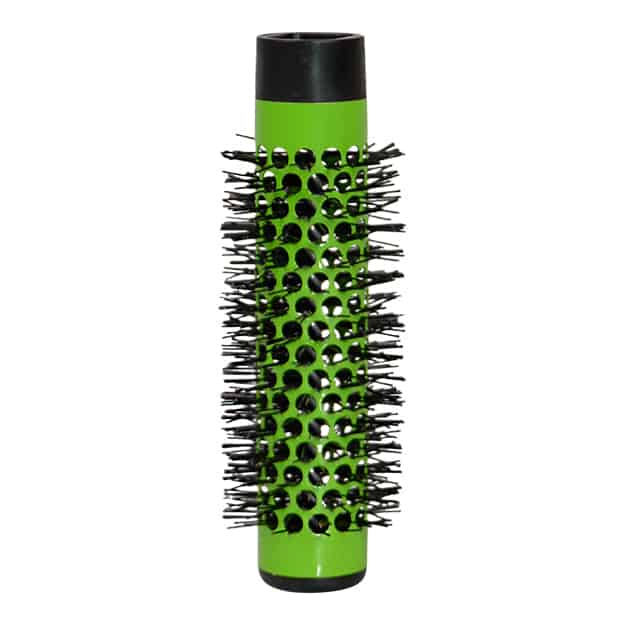
Menomonie, Wis.- Casual Panache, Inc. unveils a new hair styling tool called the Styl Styk, one of the first product submissions in a project geared toward partnering with hopeful inventors of new beauty styling tools.
According to Dove’s Make Friends With Your Hair survey in 2011, only 7 percent of women “love” their hair.
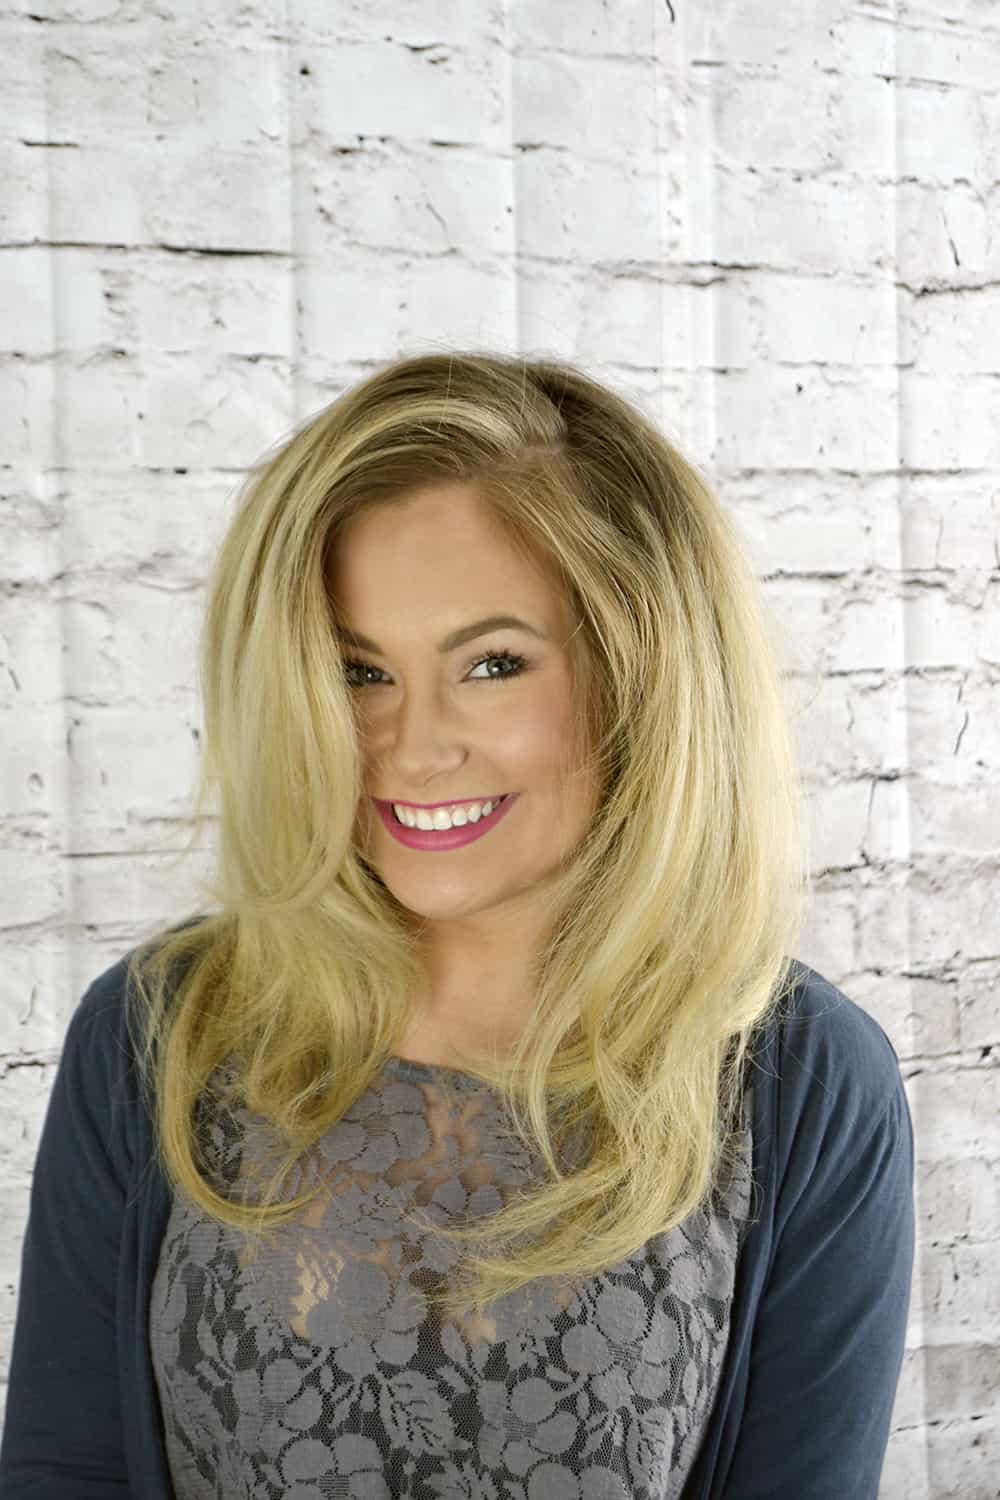
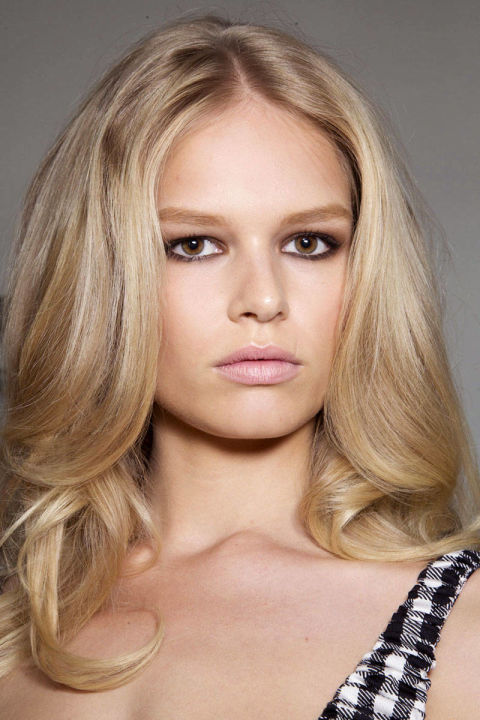
Love your thin hair!
Thin hair isn’t a bad thing. It can be a lot easier to manage than a super thick mane.
Sure, you probably can’t get that mermaid hair look without extensions, but you can still have hair that other people appreciate and envy – so long as you take care of it properly and know what practices to avoid.
We have compiled a short list of some important things to consider when cutting and styling your thin hair.
See our infographic below!
Click the image below to view the full size.
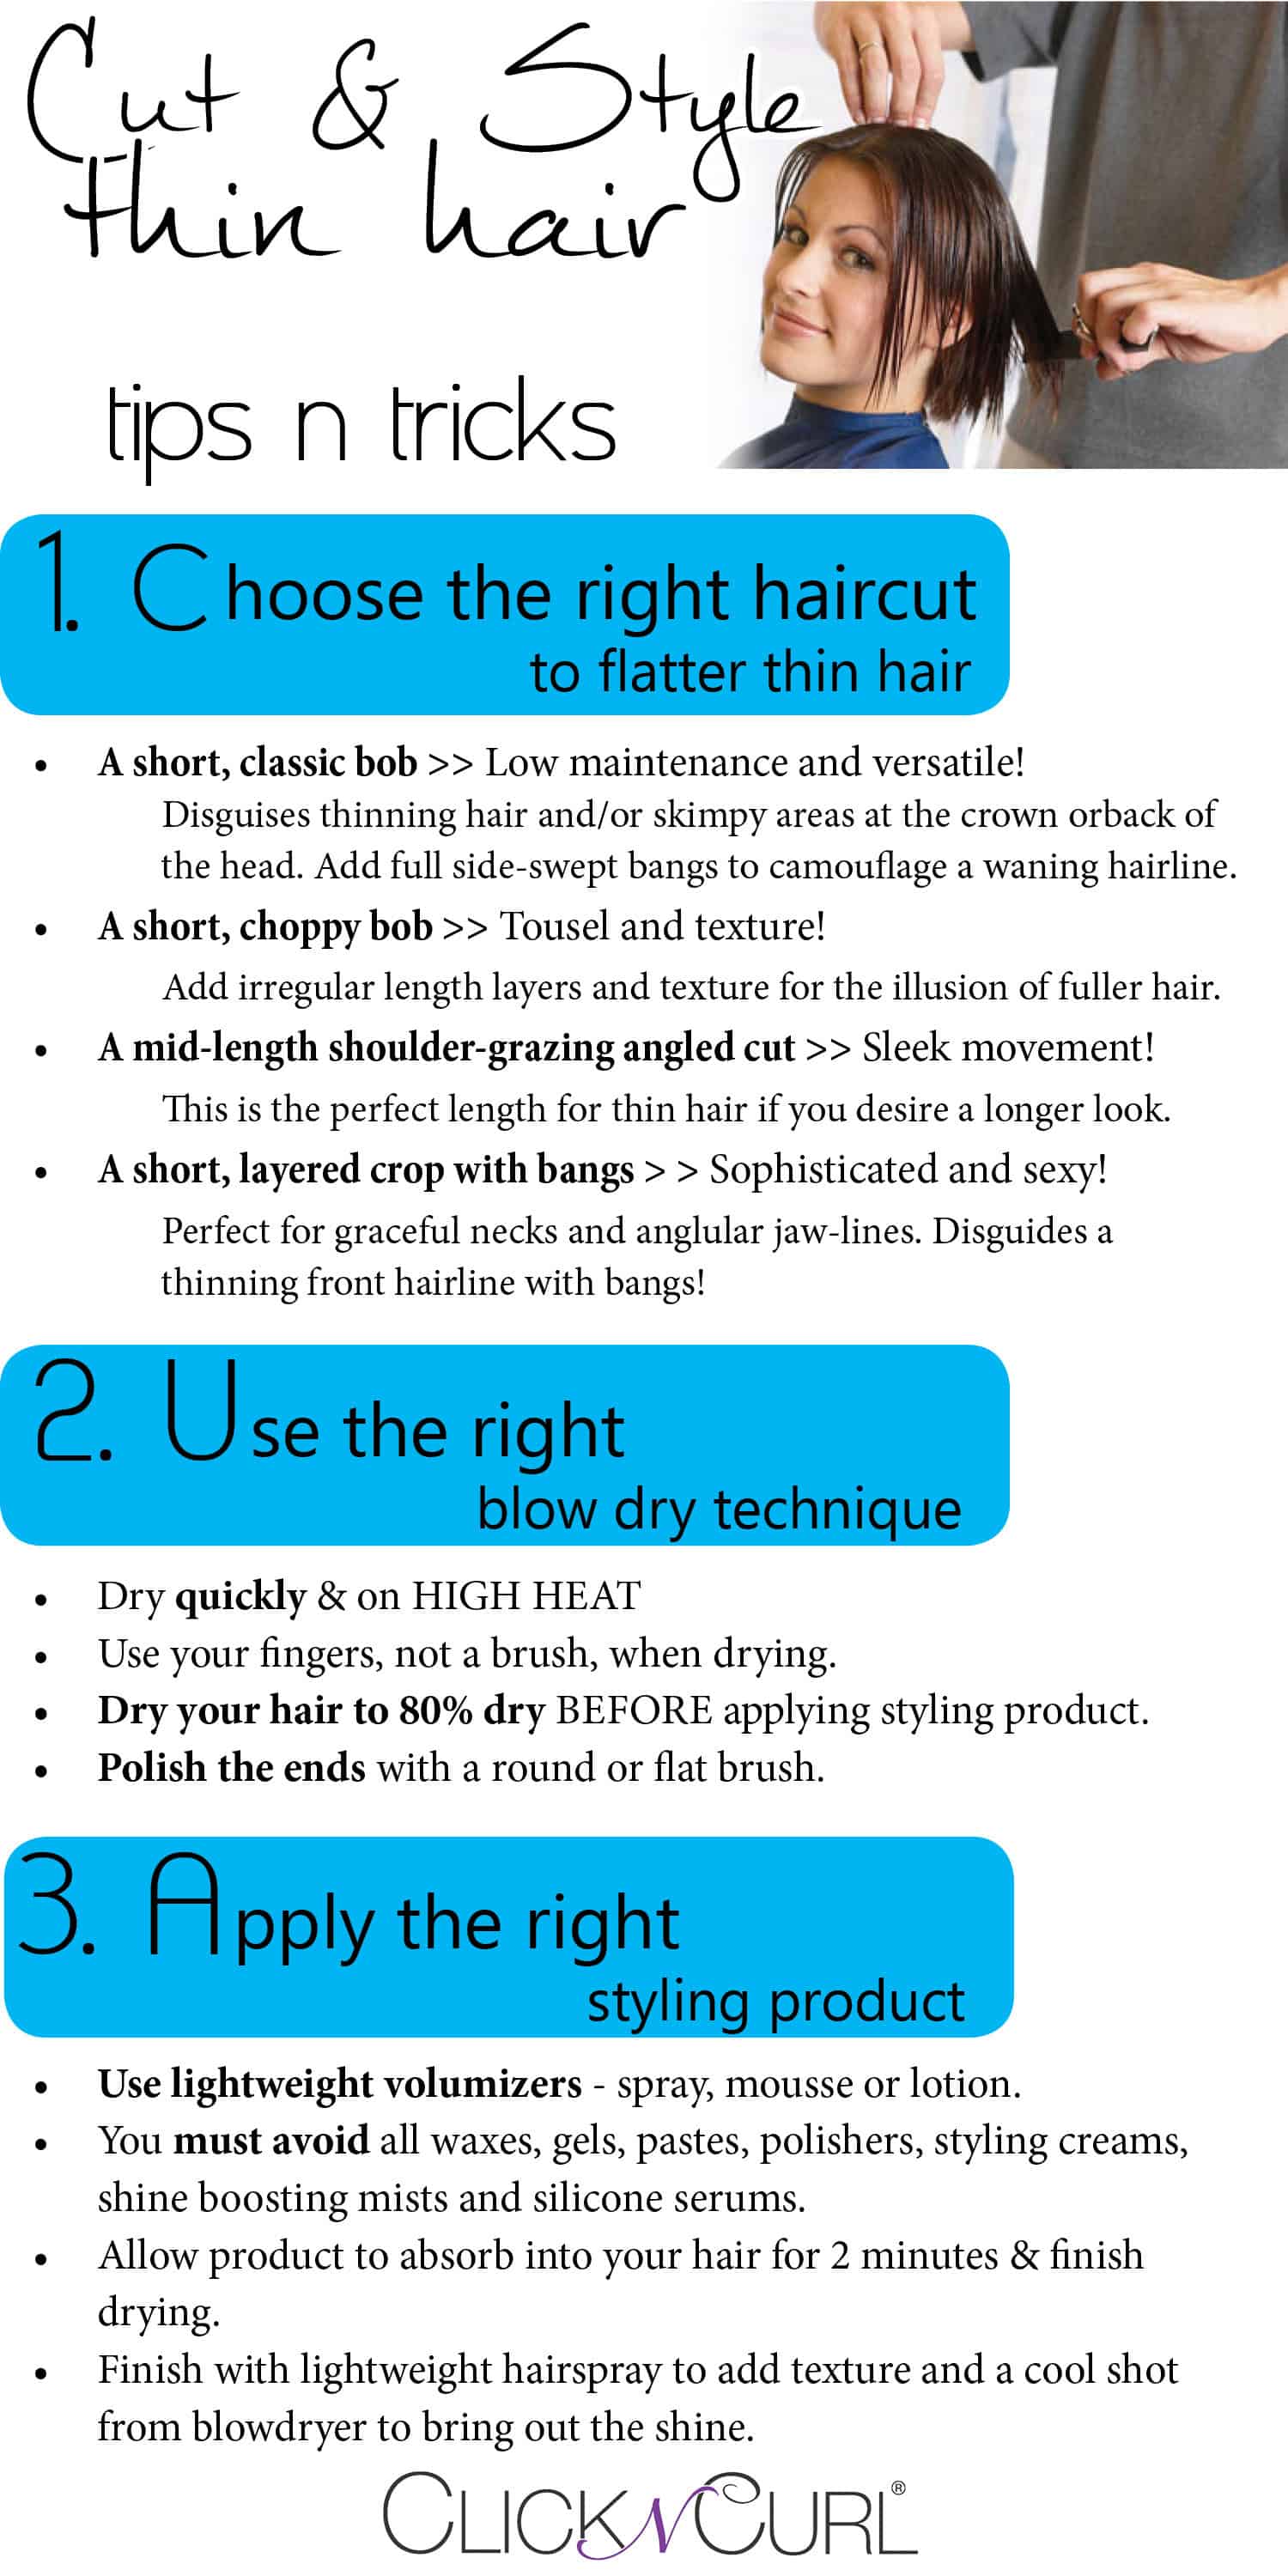
Image Text:
Cut & Style thin hair
Tips n Tricks
1. Choose the right haircut to flatter thin hair
• A short, classic bob >> Low maintenance and versatile!
Disguises thinning hair and/or skimpy areas at the crown or back of
the head. Add full side-swept bangs to camouflage a waning hairline.
• A short, choppy bob >> Tousel and texture!
Add irregular length layers and texture for the illusion of fuller hair.
• A mid-length shoulder-grazing angled cut >> Sleek movement!
This is the perfect length for thin hair if you desire a longer look.
• A short, layered crop with bangs > > Sophisticated and sexy!
Perfect for graceful necks and anglular jaw-lines. Disguides a
thinning front hairline with bangs!
2. Use the right blow dry technique
• Dry quickly & on HIGH HEAT
• Use your fingers, not a brush, when drying.
• Dry your hair to 80% dry BEFORE applying styling product.
• Polish the ends with a round or flat brush.
3. Apply the right styling product
• Use lightweight volumizers – spray, mousse or lotion.
• You must avoid all waxes, gels, pastes, polishers, styling creams, shine boosting mists and silicone serums.
• Allow product to absorb into your hair for 2 minutes & finish drying.
• Finish with lightweight hairspray to add texture and a coolshot from blowdryer to bring out the shine.
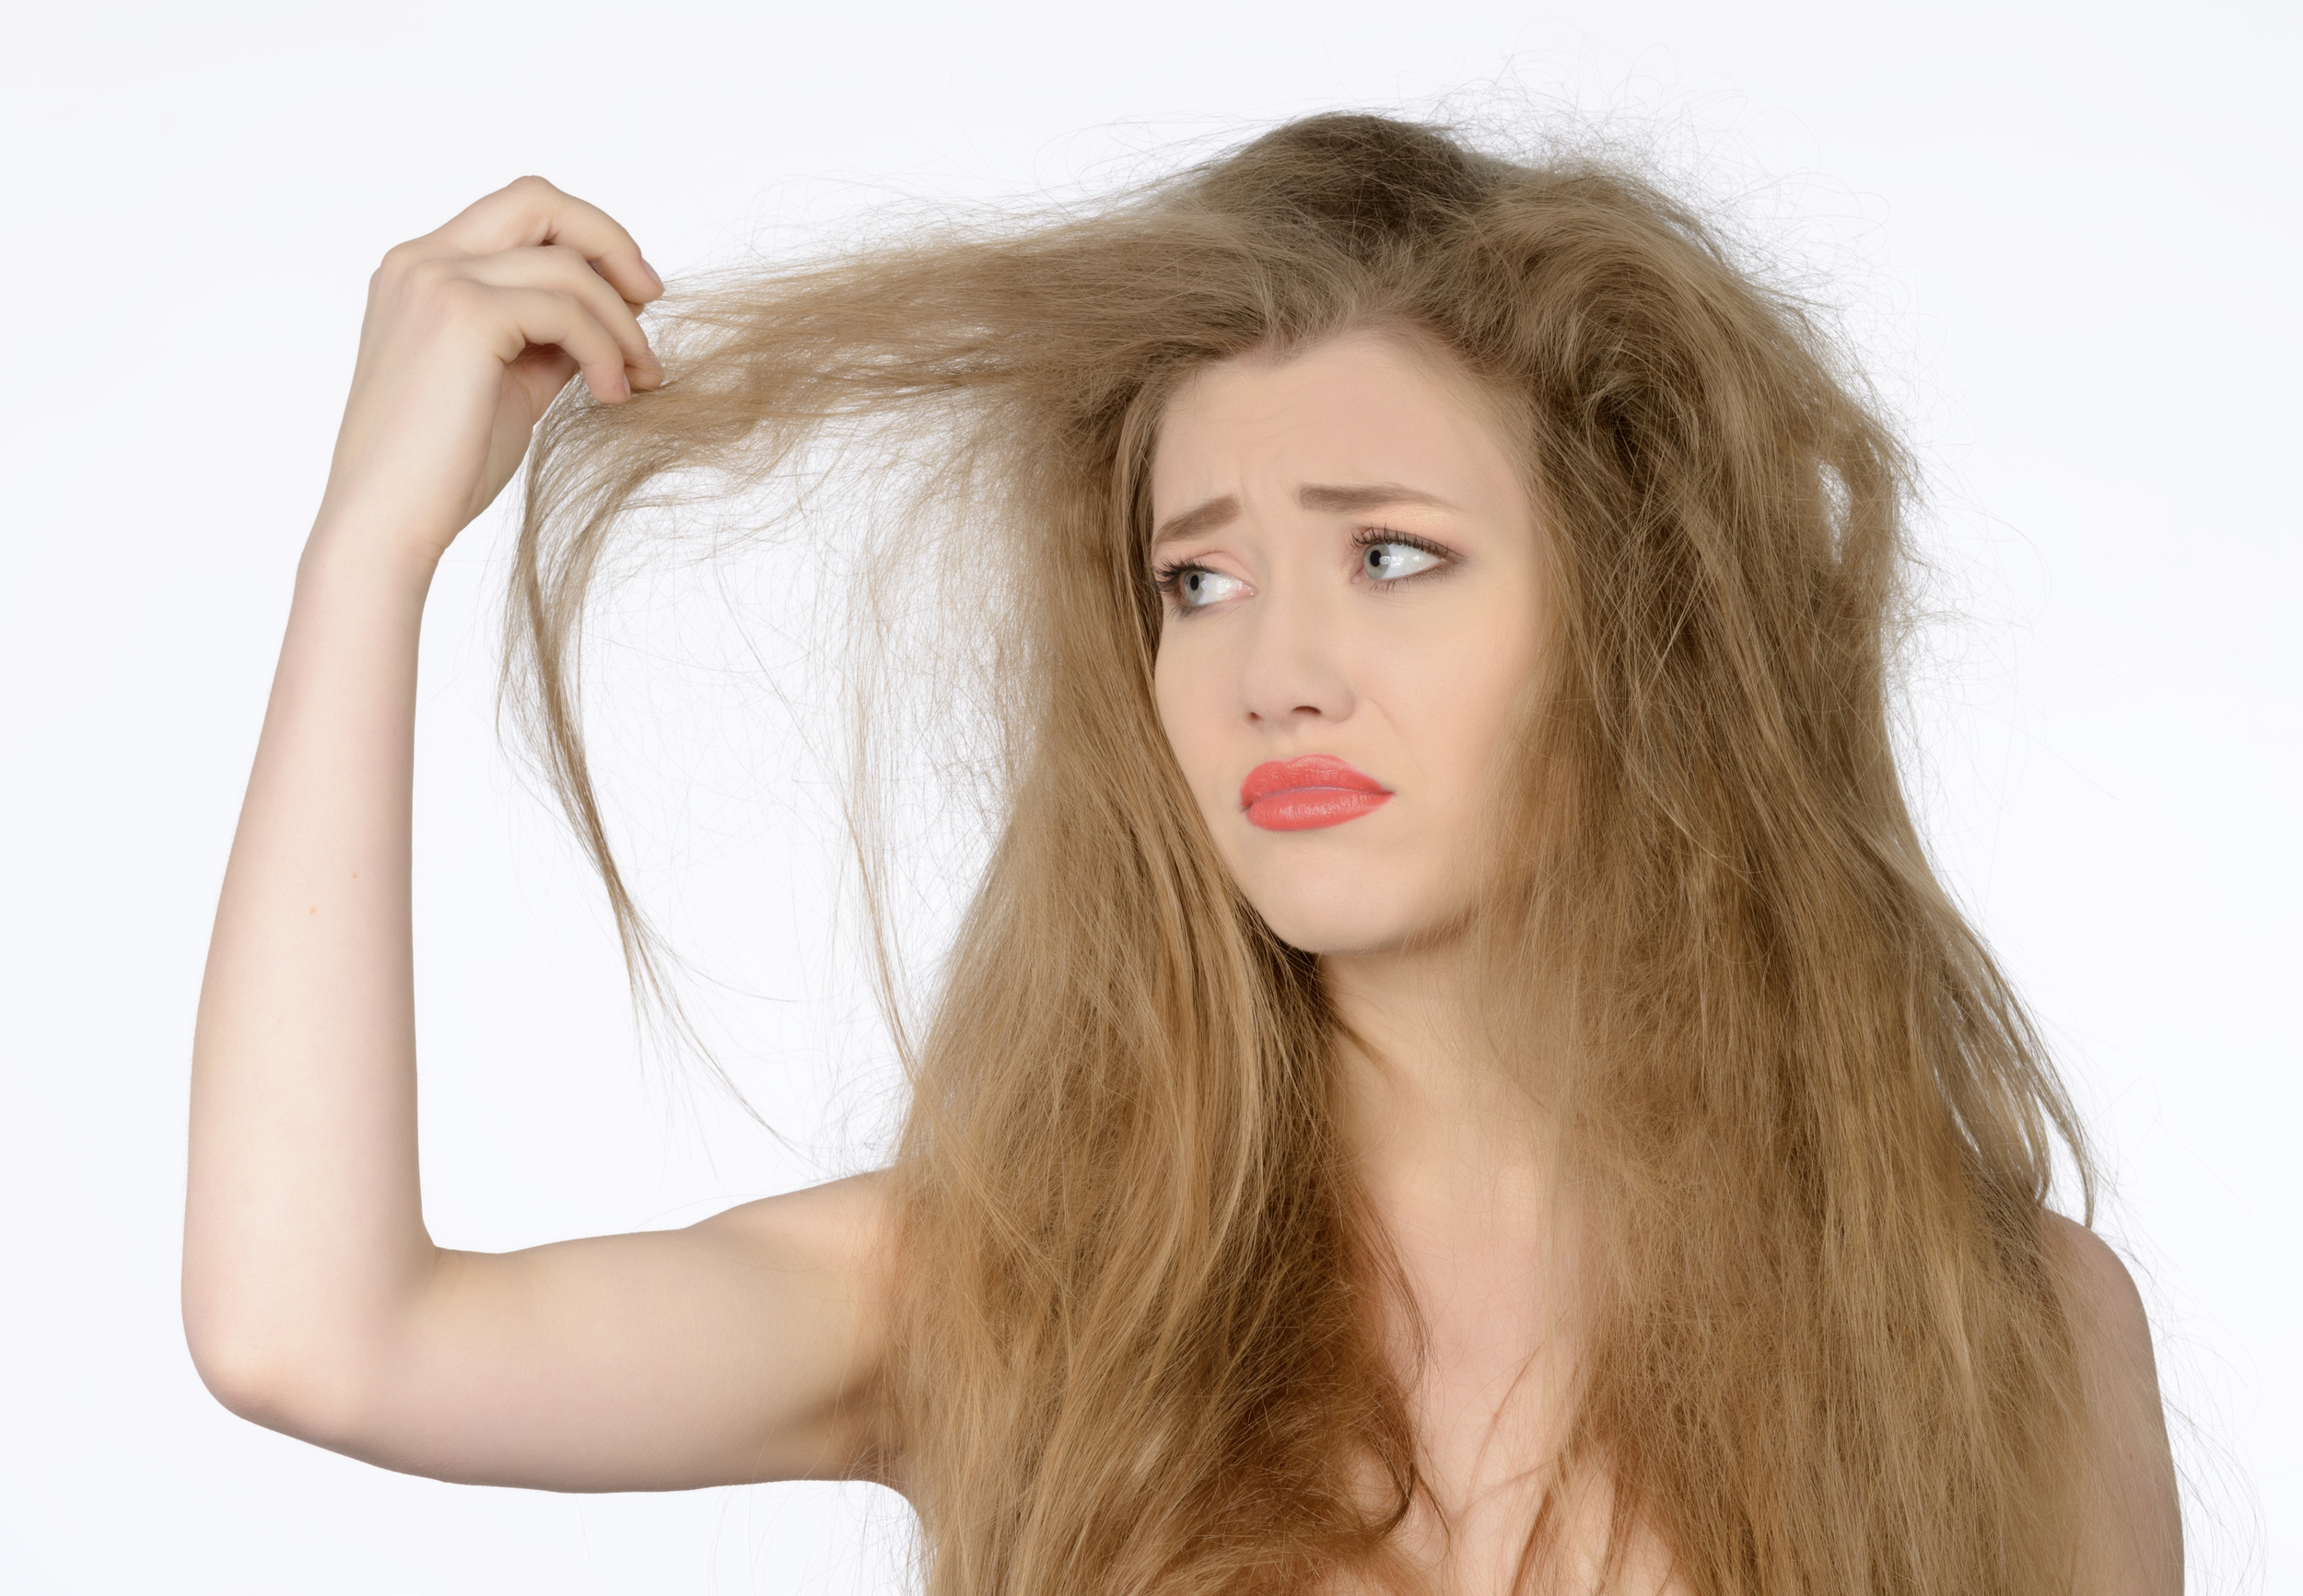
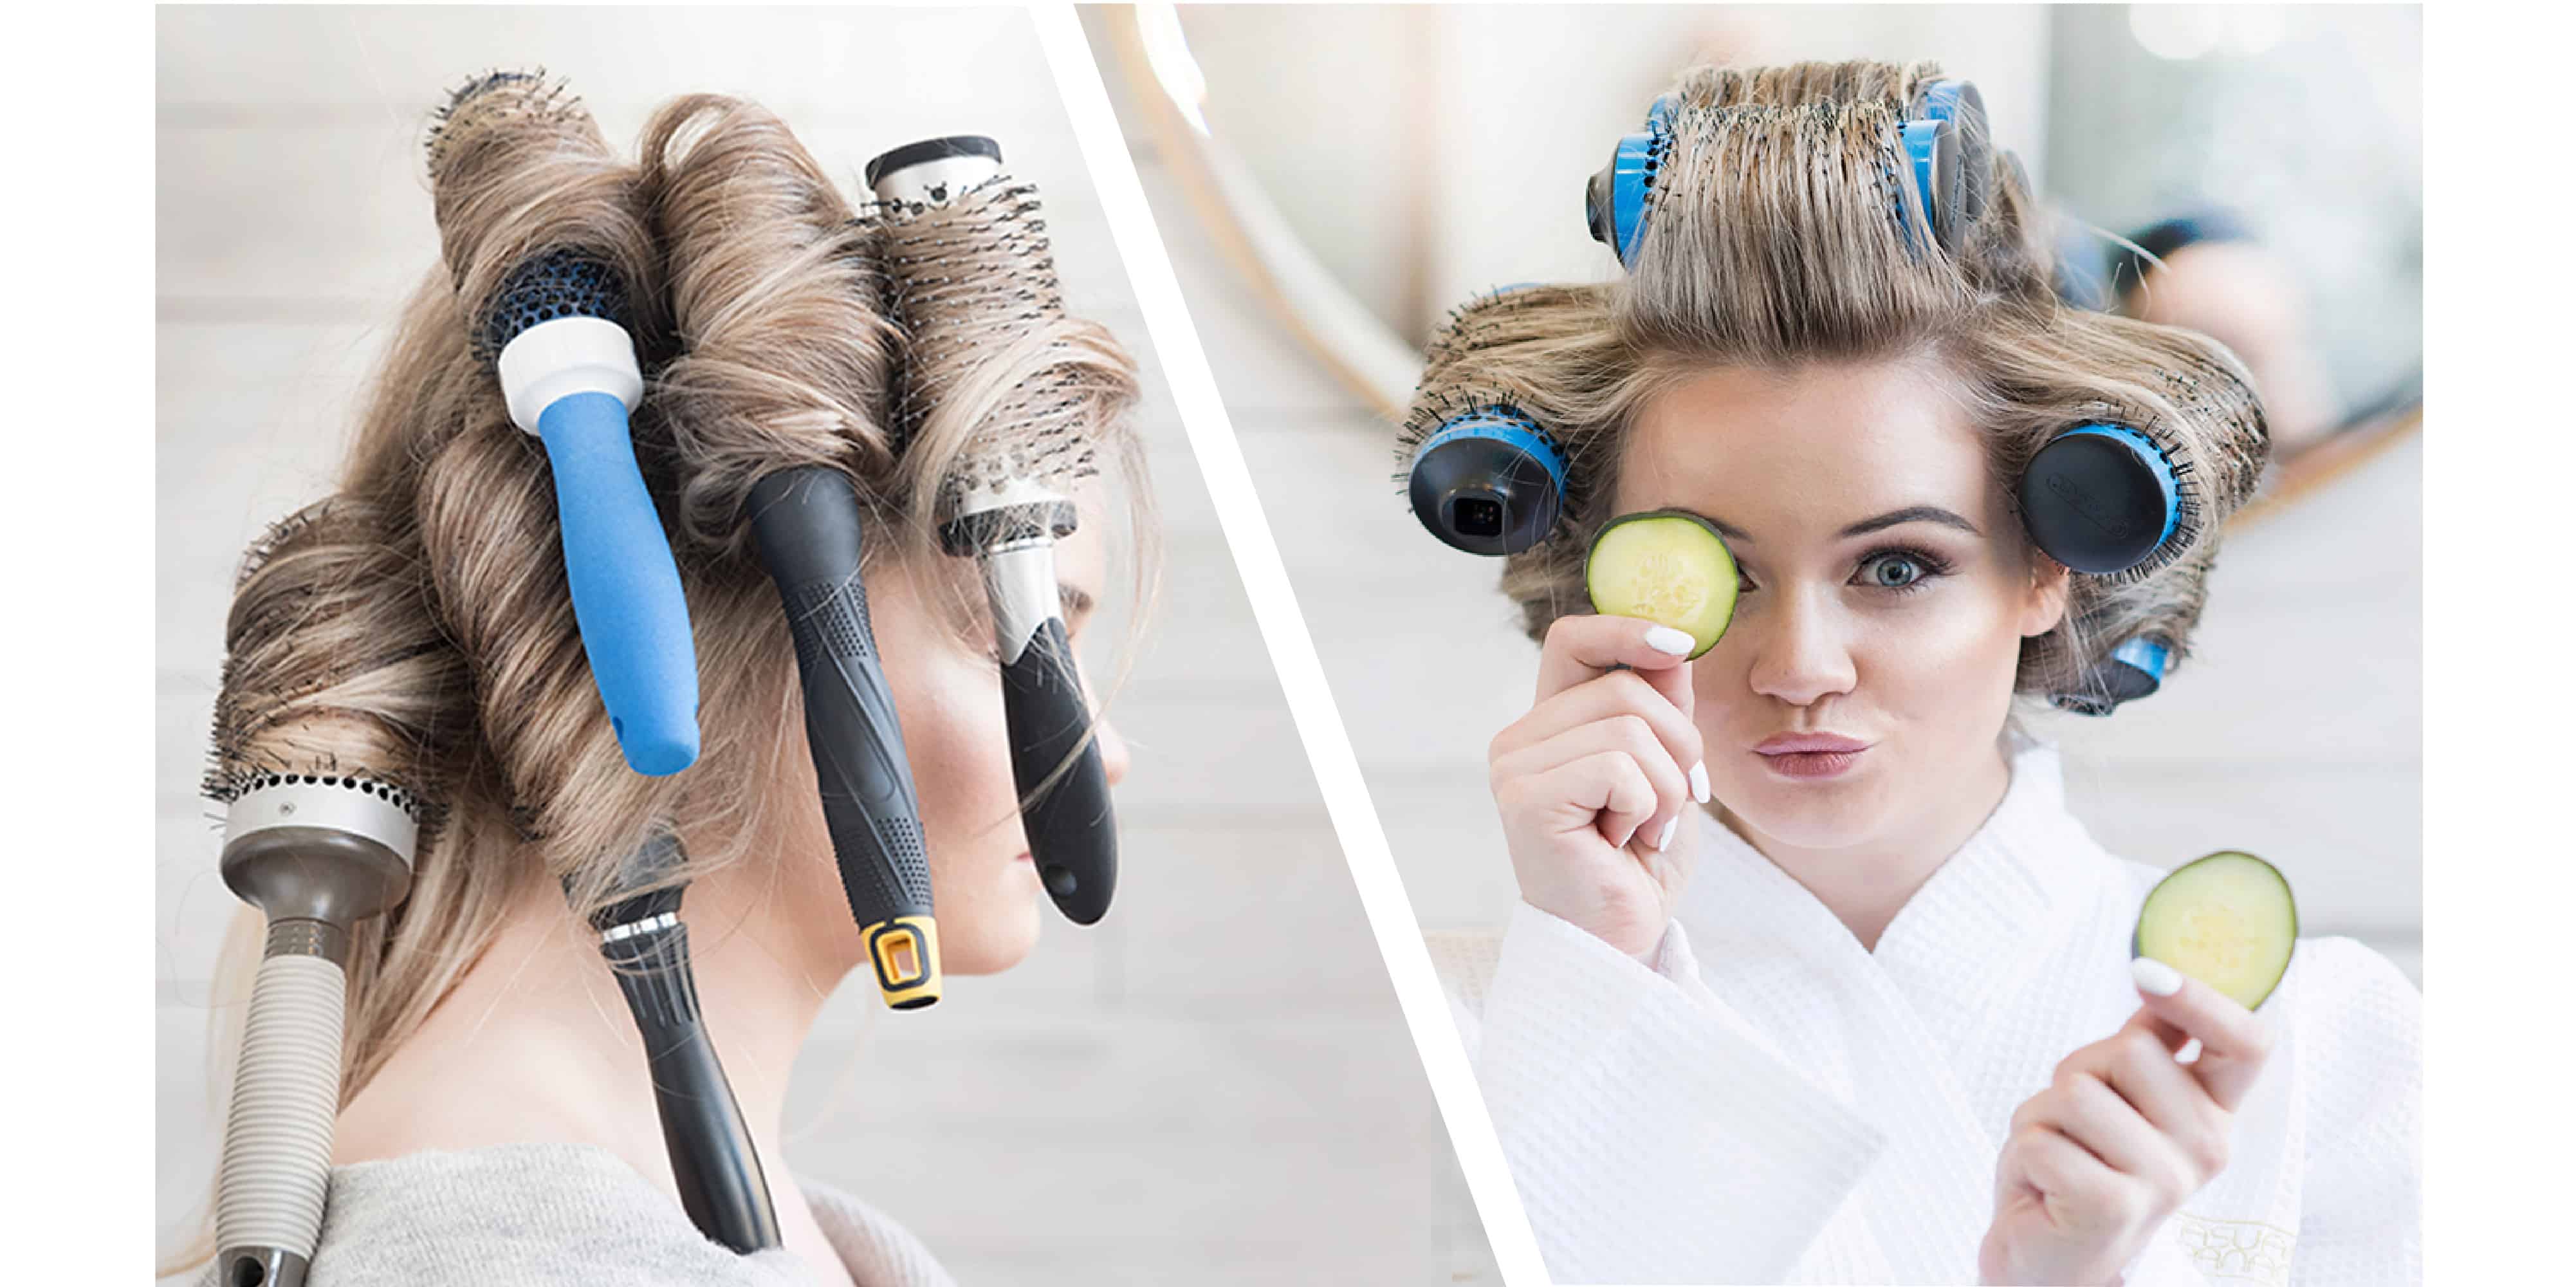
Don’t fry your hair! Click n Curl can prevent heat damage.
Don’t fry your hair!
Dr. Oz and many other health and hair care experts warn against “frying” your hair by heating it too much with your styling tools.
“Make sure your hot tools have temperature controls and stick within the low to medium settings,” says Dr. Oz on DoctorOz.com.
“Also, be sure to use a heat-protecting styling aid to buffer the damage caused by hot tools. In fact, try skipping a day or two of heat styling entirely each week to give your haystack a much-needed rest.”
Click n Curl not only
saves you time & money,
it also SAVES YOUR HAIR
How does Click n Curl protect your hair from heat damage?
♥ Click n Curl allows you to dry and style at the same time
– so you don’t have to use a heat source twice for drying and styling.
♥ The vented brushes allow for quicker heating and drying,
which greatly reduces the time it takes to style, thus minimizing the
amount of heat you put on your hair.
♥ You can reduce the frequency you use your hairdryer because your
Click n Curl body will stay in your hair for days, if properly cared for! All you have
to do is skip washing your hair in the shower. (This also has the added benefit of
giving your scalp and hair follicles a rest, and may help to reduce residue build-up
from shampoo and styling products!)
When you style your second-day (or, if you’re brave, third-day!) Click n Curl hair,
there are a few tricks to make your mane look full and fresh.
 Tips for amping up your Second-Day Click n Curl hair:
- Use a spray-on or powdered dry shampoo if you’re feeling greasy.
(We like Ambiance powdered dry shampoo, which has a handy brush for flawless application.) - Use a spritz spray on your palms and scrunch your hair with your fingertips at your root to re-volumize.
Smooth down any stray strands and your hair will look fresh. - Do a big ponytail! You will still have plenty of bounce and body, so putting your second-day hair in a ponytail will look great! Putting your second-day Click n Curl hair in a messy ponytail doesn’t have to be hard! Visit Babble.com for some great messy ponytail tutorials.
- And, we know we don’t need to tell you this, but trimming your hair helps to keep your main looking sleek and even. Uneven hair and split ends create a choppy, unkempt look no matter how hard you try to style it.
Do you have any second-day hair care tips? Let us know in the comments below and we can feature your tips in our blog.
Happy curling!
Why should you clean your Click n Curl brushes?
- A clean brush works better. Hair can get clogged up in the brush bristles, blocking the vent holes and slowing the air flow and drying time.
- Eliminate product buildup. Product residue builds up on the bristles and gets redistributed into your clean hair when you re-use the brushes. Old product can make your hair dull and sticky!
Cleaning your Click n Curl is easy and only takes a few minutes!
You will need:
- A pick comb or pen
- Scissors
- Warm water
- 1 tbsp. mild shampoo
- 1 tsp. baking soda
- A bowl
- An old toothbrush
- A towel
-
- Step 1: Remove hair
-
- *Tip!
-
- Step 2: Wash the brush
-
- Step 2: Wash the brush
Step 1: Remove hair
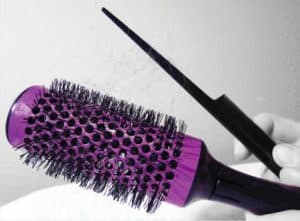
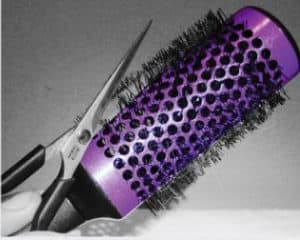
Gently run a comb (a pick comb or pen works great!) over the Click n Curl brush head to remove the hair. Be careful not to scratch the ceramic coating. *Tip: if there is a lot of hair and it is difficult to remove, take a scissors and snip down the center of the matte.
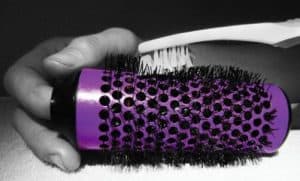
Step 2: Wash the brush
In a bowl, mix the warm water, shampoo and baking soda. Dip a toothbrush into the mix and apply to the brush, scrubbing the barrel and bristles gently.
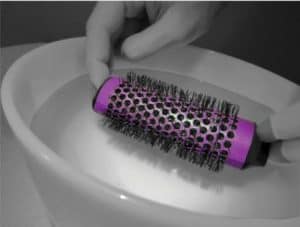
Step 3: Rinse & dry
Fill a bowl up with clean, warm water about ½ inch- 1 inch deep. Roll brushes in warm water until free from suds. Rinse thoroughly without totally immersing the brush. Place on a towel to air dry, lying horizontal.
Voila! Your Click n Curl brushes are squeaky clean and shiny as the day they were born!
 M
M any style gurus are forecasting that the bombshell blowout will be extremely popular this spring.
There’s a reason why movie stars adopt this style on a daily basis: the wonderful thing about this hairstyle is that it’s flattering on anyone. The problem is that it takes an experienced hand to perfect this look. Movie stars may be able to shell out the big bucks for a personal stylist, but we know that most women don’t always have the option to go to a salon and dish out the dough to look and feel like a million bucks.
Fortunately for those of us without an endless beauty budget, Click n Curl is the perfect tool to achieve this style!
Make your friends jealous of your gorgeous, full-bodied, luscious locks with these Click n Curl Bombshell Blowout Tips.
Tips for your best bombshell blowout
1) Choose the right-sized brush for your hair length
For short to medium length (like the top right photo): Use a combination of the small (red) and medium (purple) brushes.
For medium to long length (top left photo): Use a combination of the medium (purple) and large (blue) brushes.
* Did you know that you can build your own Click n Curl value set? Customize your order with a mix-and-match set on our website here.
2) Begin styling when your hair is 80% – 90% dry
Letting your hair dry on the round brush is what will set the curl and body. If you’re still new to the Click n Curl, start adding rollers sooner than later until you get the hang of it.
3) Use the right product
Whenever you style your hair with heat, it’s important to use product to protect your hair and to ensure you get the desired results. We recommend a blow dry spray and light hairspray that is workable, brushable, and gives you bounce and holds the volume.
- A blow dry spray we like: My Amazing Blow Dry Secret
- A hair spray we like: Sebastian Shaper Hair Spray
4) Make your bombshell blowout last longer
Wanna make your Click n Curl style last a day or two longer? Keep your hair dry when you shower, and use a volumizing dry shampoo when you style in the morning. Our product pick is a volumizer, a dry shampoo AND a texturizing spray. Using less product on your hair is healthier on your scalp and follicles AND your wallet. Learn more about our pick here: Blowpro Texture.
For more tips and tricks, we have several videos to give you a visual aid on the best practices for Click n Curl. Watch a video by our own Kim Nimsgern, CEO, for more tips and tricks using Click n Curl. Watch the video here. You can also view our youtube page for more videos!
Happy Curling!
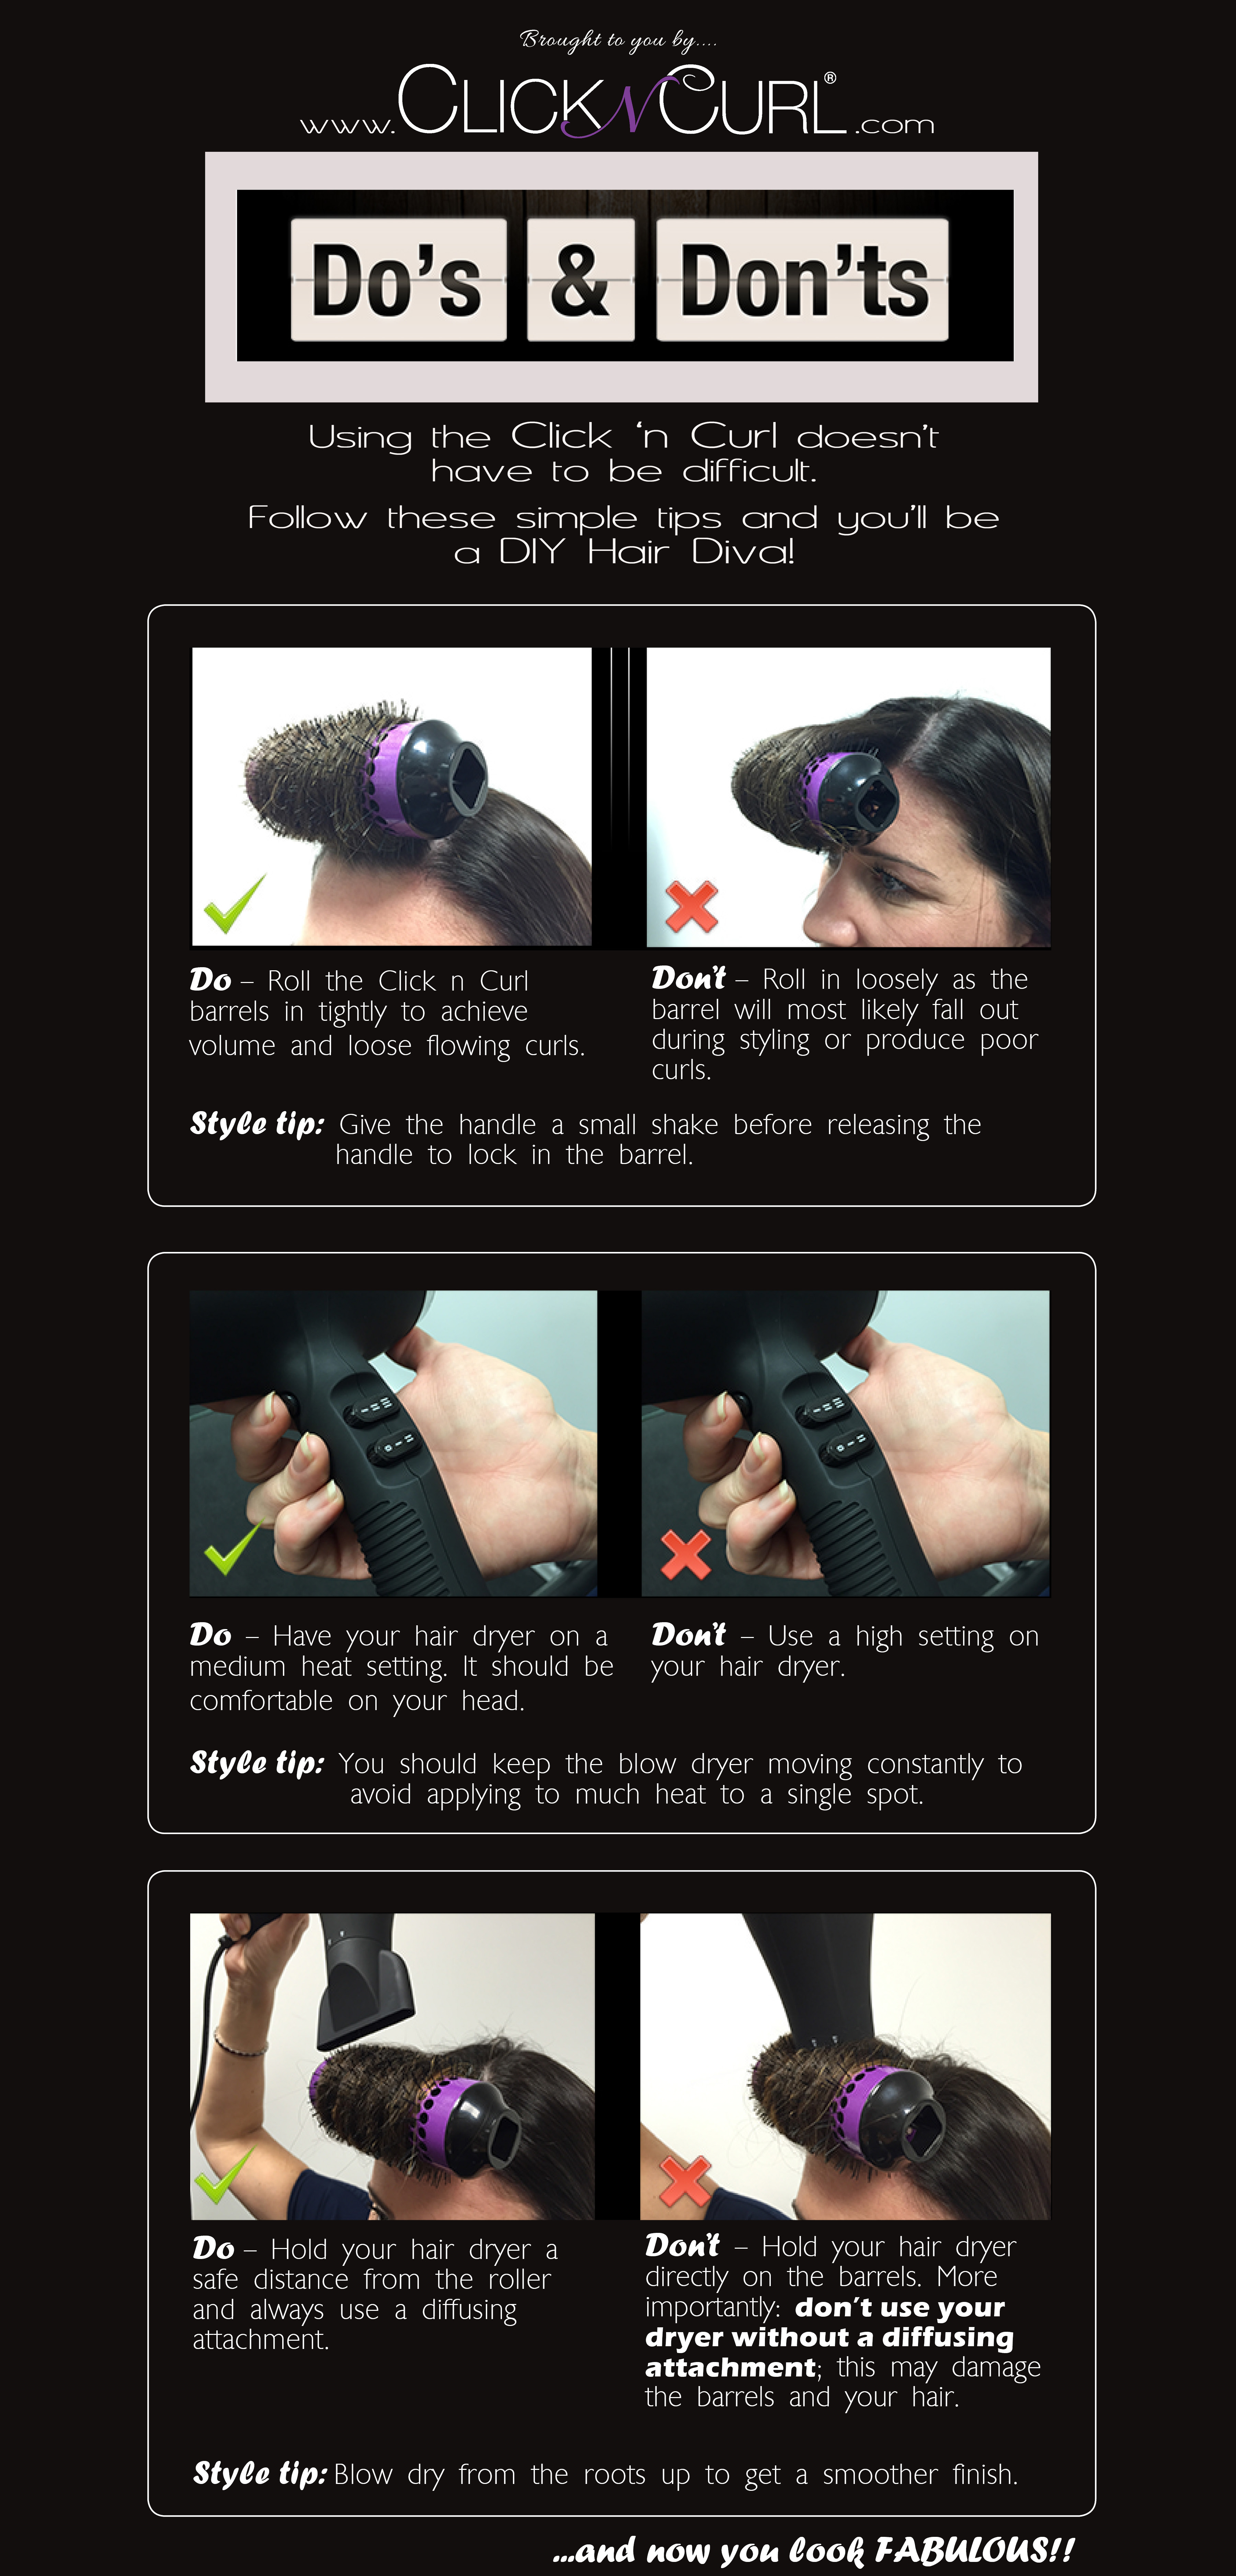
Having some trouble using your Click n Curl? No worries!
It can be tricky at first, but you’ll get the hang of it in no time.
Below is a handy “Do’s and Don’ts” visual to pinpoint where you might be having trouble.
Click on the image to open in a new tab if it’s too small for your screen.
If you have any more questions, please comment below and we will answer them ASAP.
Happy Curling!
Image Text:
Using the Click n Curl doesn’t have to be difficult.
Follow these simple tips and you’ll be a DIY Hair Diva!
Do – Roll the Click n Curl barrels in tightly to achieve volume and loose flowing curls.
Don’t – Roll in loosely as the barrel will most likely fall out during styling or
produce poor curls.
Style tip: Give the handle a small shake before releasing the handle to lock in
the barrel.
Do – Have your hair dryer on a medium heat setting. It should be comfortable on
your head.
Don’t – Use a high setting on your hair dryer.
Style tip: You should keep the blow dryer moving constantly to avoid applying
to much heat to a single spot.
Do – Hold your hair dryer a safe distance from the roller and always use a diffuse nozzle.
Don’t – Hold your hair dryer directly on the barrels and especially not without a
diffuse nozzle as this may damage the barrels and your hair.
Style tip: Blow dry from the roots up to get a smoother finish.
…and now you look fabulous!
![]()